Elasticsearch 7.17.7 安装
# Elasticsearch 安装
这里采用镜像的方式安装,最新镜像可关注 https://registry.hub.docker.com/_/elasticsearch (opens new window)
es 的官方文档 https://www.elastic.co/guide/en/elasticsearch/reference/current/index.html (opens new window)
关于镜像的一些启动参数参考 https://www.elastic.co/guide/en/elasticsearch/reference/7.17/docker.html#docker (opens new window)
version: '3.9'
services:
  elasticsearch:
    # 指定官方镜像,使用 7.17.7 版本,当前最新版本,不支持 latest。 The latest tag is not supported
    image: docker.elastic.co/elasticsearch/elasticsearch:7.17.7
    container_name: elasticsearch
    # 指定容器退出后的重启策略为始终重启,但是不考虑在 Docker 守护进程启动时就已经停止了的容器
    # restart: unless-stopped
    # 赋予 root 权限,生产环境慎用!这里使用这个配置可以不用给 挂在的路径添加 读写权限,否则要加 chmod 777 /usr/share/elasticsearch/config
    privileged: true
    # 可以指定参数,参考 https://www.elastic.co/guide/en/elasticsearch/reference/7.17/docker.html#docker
    environment:
      - TZ=Asia/Shanghai
      - LANG=en_US.UTF-8
      - discovery.type=single-node
      - bootstrap.memory_lock=true
      - xpack.security.enabled=false
      - xpack.security.http.ssl.enabled=false
      - "ES_JAVA_OPTS=-Xms1g -Xmx1g"
#      - ELASTIC_PASSWORD=bulkjava
#      - ELASTIC_USERNAME=bulkjava
    ulimits:
      memlock:
        soft: -1
        hard: -1
    # /data /logs 路径都要给权限!  chmod 777 -R ./data
    volumes:
      - "./data:/usr/share/elasticsearch/data"
      - "./logs:/usr/share/elasticsearch/logs"
      - "./plugins:/usr/share/elasticsearch/plugins"
    ports:
      - "9200:9200"
      - "9300:9300"
    networks:
      - es
  kibana:
    image: docker.elastic.co/kibana/kibana:7.17.7
    restart: unless-stopped
    environment:
      - ELASTICSEARCH_URL=http://elasticsearch:9200
      - ELASTICSEARCH_HOSTS=["http://elasticsearch:9200"]
      - I18N_LOCALE=zh-CN
#      - ELASTICSEARCH_USERNAME=bulkjava
#      - ELASTICSEARCH_PASSWORD=bulkjava
    networks:
      - es
    depends_on:
      - elasticsearch
    privileged: true
    ports:
      - "5601:5601"

# 网桥es -> 方便相互通讯
networks:
  es:
    driver: bridge
2
3
4
5
6
7
8
9
10
11
12
13
14
15
16
17
18
19
20
21
22
23
24
25
26
27
28
29
30
31
32
33
34
35
36
37
38
39
40
41
42
43
44
45
46
47
48
49
50
51
52
53
54
55
56
57
注意 /data /logs 路径都要给权限! chmod 777 -R ./data
# 启动
执行 docker-compose -f docker-compose-elasticsearch-single.yml up -d 指令
然后会去拉去镜像
[root@bulk elasticsearch]# docker-compose -f docker-compose-elasticsearch-single.yml up -d
Creating network "elasticsearch_es" with driver "bridge"
Pulling elasticsearch (docker.elastic.co/elasticsearch/elasticsearch:7.17.7)...
7.17.7: Pulling from elasticsearch/elasticsearch
8d2cded47a25: Pull complete
1b10e912daf5: Pull complete
9b44bd25fb6e: Pull complete
89732bc75041: Pull complete
f64344be0f71: Pull complete
441fc1bc16ef: Pull complete
e2adf361a4af: Pull complete
f40733178300: Pull complete
f0855cd99966: Pull complete
3f5048d3f71d: Pull complete
Digest: sha256:27cb808b1029ac75718a12ac16f2c09b0cda6469146b6039fd3573fc2f0711d3
Status: Downloaded newer image for docker.elastic.co/elasticsearch/elasticsearch:7.17.7
Pulling kibana (docker.elastic.co/kibana/kibana:7.17.7)...
7.17.7: Pulling from kibana/kibana
8d2cded47a25: Already exists
fea258b840ac: Pull complete
8c3916d384de: Pull complete
dc7f4f3caf41: Pull complete
3906bba13577: Pull complete
89732bc75041: Pull complete
208efd4dd4c5: Pull complete
9fb2e7afd63c: Pull complete
fa195a80a120: Pull complete
c272e8f27f0f: Pull complete
9036c5f5af24: Pull complete
ce33418de96c: Pull complete
ccdc078a7b13: Pull complete
98462f0155d1: Pull complete
Digest: sha256:aeb1a2e28a4b90b141784d474a8586311a1a8a91517905090cf477f0349ba608
Status: Downloaded newer image for docker.elastic.co/kibana/kibana:7.17.7
Creating elasticsearch ... done
Creating elasticsearch_kibana_1 ... done
2
3
4
5
6
7
8
9
10
11
12
13
14
15
16
17
18
19
20
21
22
23
24
25
26
27
28
29
30
31
32
33
34
35
36
37
38
如果启动过后可能会失败 可以通过 docker logs -f -n 200 容器id 去查看日志
如果遇到了这个错误
Error opening log file 'logs/gc.log': Permission denied
那么说明挂在的路径没有权限。 给上权限,重启 (其他路径没有权限也是这么处理)
chmod 777 -R ./logs
如果遇到了错误
ERROR: Elasticsearch did not exit normally - check the logs at /usr/share/elasticsearch/logs/docker-cluster.log
在往上看几行,可能在docker日志中不好看,可以复制出来看看
我这里是因为没有给权限 除了 /logs 要给权限 /data 也要给权限
# ik 分词器安装
需要进入 es 容器内去执行安装指令
docker exec -it elasticsearch /bin/bash
cd bin
elasticsearch-plugin install https://github.com/medcl/elasticsearch-analysis-ik/releases/download/v7.17.7/elasticsearch-analysis-ik-7.17.7.zip
# 等待安装完成
2
3
4
然后让你确认一下,这是我操作时候的日志。 确认时候,y 回车即可
elasticsearch@02042174ba44:/bin$ elasticsearch-plugin install https://github.com/medcl/elasticsearch-analysis-ik/releases/download/v7.17.7/elasticsearch-analysis-ik-7.17.7.zip
-> Installing https://github.com/medcl/elasticsearch-analysis-ik/releases/download/v7.17.7/elasticsearch-analysis-ik-7.17.7.zip
-> Downloading https://github.com/medcl/elasticsearch-analysis-ik/releases/download/v7.17.7/elasticsearch-analysis-ik-7.17.7.zip
[=================================================] 100%??
@@@@@@@@@@@@@@@@@@@@@@@@@@@@@@@@@@@@@@@@@@@@@@@@@@@@@@@@@@@
@     WARNING: plugin requires additional permissions     @
@@@@@@@@@@@@@@@@@@@@@@@@@@@@@@@@@@@@@@@@@@@@@@@@@@@@@@@@@@@
* java.net.SocketPermission * connect,resolve
See https://docs.oracle.com/javase/8/docs/technotes/guides/security/permissions.html
for descriptions of what these permissions allow and the associated risks.

Continue with installation? [y/N]y
2
3
4
5
6
7
8
9
10
11
12
安装完成后记得重启
不然在 java 中去使用的时候会出现异常
Elasticsearch exception [type=illegal_argument_exception, reason=analyzer [ik_max_word] has not been configured in mappings]
注意这里是有版本(路径中的 v7.17.7 以及 elasticsearch-analysis-ik-7.17.7.zip)对应关系的,参考 https://github.com/medcl/elasticsearch-analysis-ik (opens new window)
这里用的 v7.17.7 因为没有 v7.17.7 版本,大版本一致一般不会出什么问题
| IK version | ES version |
|---|---|
| master | 7.x -> master |
| 6.x | 6.x |
| 5.x | 5.x |
| 1.10.6 | 2.4.6 |
| 1.9.5 | 2.3.5 |
| 1.8.1 | 2.2.1 |
| 1.7.0 | 2.1.1 |
| 1.5.0 | 2.0.0 |
| 1.2.6 | 1.0.0 |
| 1.2.5 | 0.90.x |
| 1.1.3 | 0.20.x |
| 1.0.0 | 0.16.2 -> 0.19.0 |
# 验证
es 是否启动成功,访问 http://ip:9200/
{
  "name" : "068b88fd420e",
  "cluster_name" : "docker-cluster",
  "cluster_uuid" : "hieR_KqdSiGXH6P_u_maYA",
  "version" : {
    "number" : "7.17.7",
    "build_flavor" : "default",
    "build_type" : "docker",
    "build_hash" : "f8edfccba429b6477927a7c1ce1bc6729521305e",
    "build_date" : "2023-06-05T21:32:25.188464208Z",
    "build_snapshot" : false,
    "lucene_version" : "9.6.0",
    "minimum_wire_compatibility_version" : "7.17.0",
    "minimum_index_compatibility_version" : "7.0.0"
  },
  "tagline" : "You Know, for Search"
}
2
3
4
5
6
7
8
9
10
11
12
13
14
15
16
17
18
输出这个表示es成功
kibana是否启动成功 访问: ip:5601
如果是 HTTP ERROR 503 ,那么要去看一下 docker 的日志,确定下问题。
这样就代表成功了
但是,如果你没有关闭 xpack.security.enabled=false 这个功能,你就会进入到下面流程!!
首次访问需要令牌
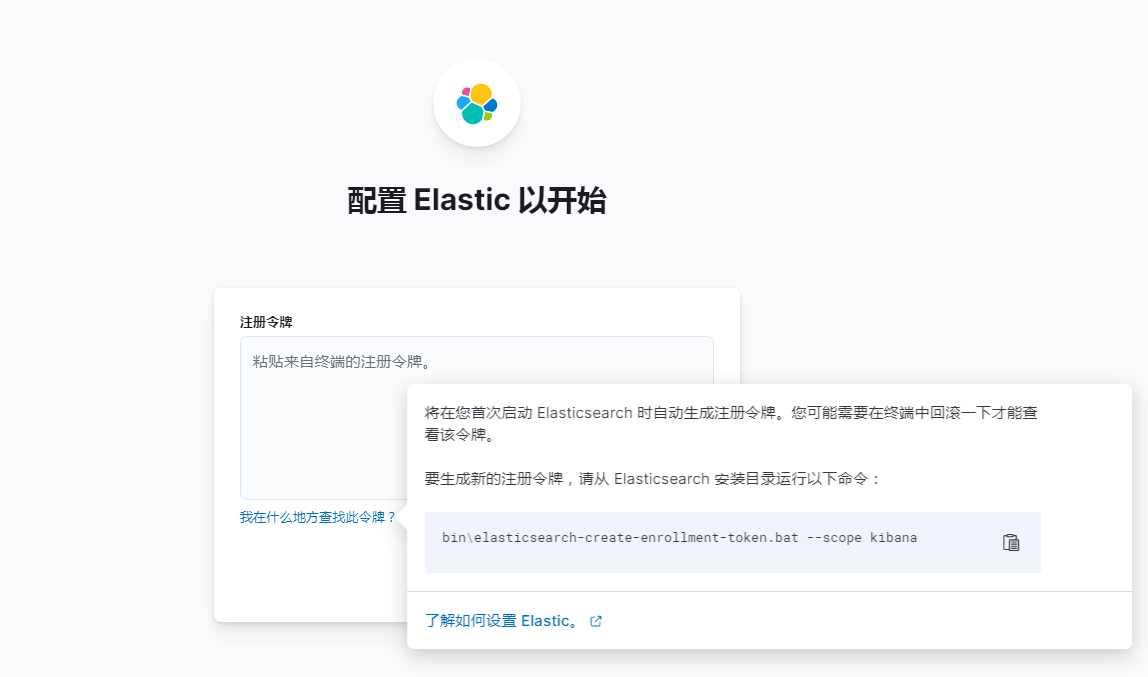
根据指令,进入到 es 的容器中去执行即可。
docker exec -it 容器id /bin/bash
这里的执行脚本和 kibana 的提示不太一样,你可以进入到 kibana 中去查看 elasticsearch-create-enrollment-token,没有 .bat
elasticsearch@8536de97f425:~/bin$ elasticsearch-create-enrollment-token --scope kibana
WARNING: Owner of file [/usr/share/elasticsearch/config/users] used to be [root], but now is [elasticsearch]
WARNING: Owner of file [/usr/share/elasticsearch/config/users_roles] used to be [root], but now is [elasticsearch]
eyJ2ZXIiOiI4LjguMSIsImFkciI6WyIxOTIuMTY4LjI0MC4yOjkyMDAiXSwiZmdyIjoiYjE3ZDk0MmFiZDUwYmRlM2RhOTc5ZjUxZDg0NmQ3ODg3Zjc5ODg0ZGEwMTAzNjE1ZWJjNzVjZTViOTQzOTU0YiIsImtleSI6Ikx6ajhLWWtCZ0ZtZHdZbDAyaWdMOm5ZRGFYbDBaUW8ya282ZmkxSnV5TmcifQ==
2
3
4
5
6
输入令牌后,再次验证
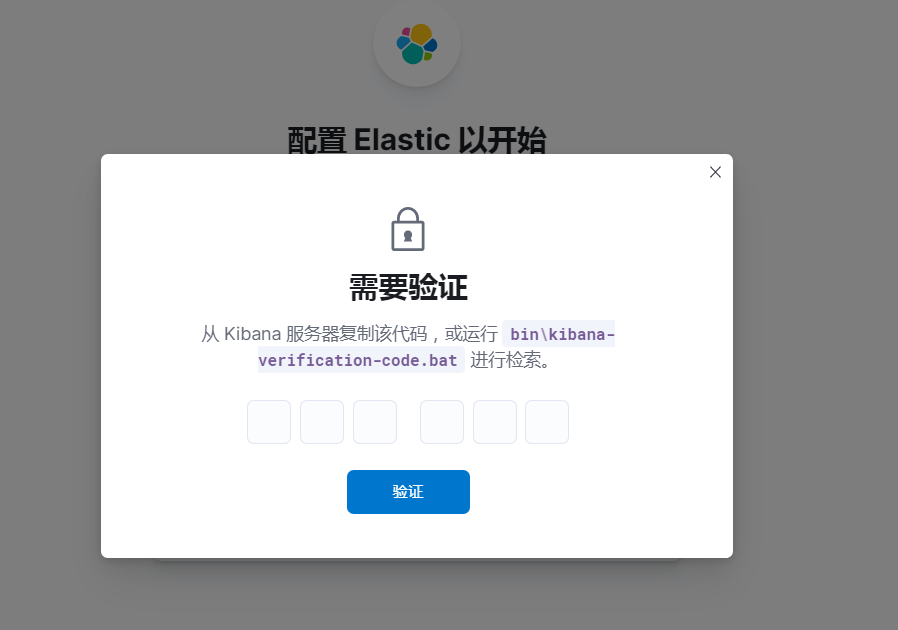
这次需要进入到 kibana的容器中去,找到bin
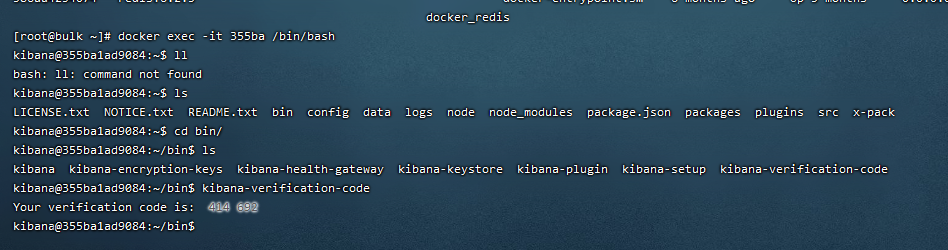
将验证码输入到 kibana 上 ,之后他就开始配置了
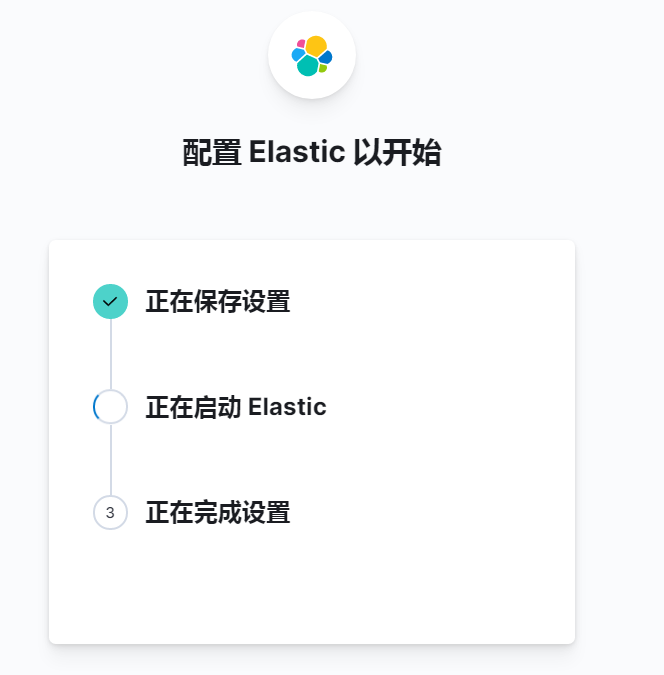
等待他完成配置